RP2040の低消費電力化をC/C++ SDKで試してみる – 動作クロック変更
こんにちは、リゲル・インテリジェンスです。
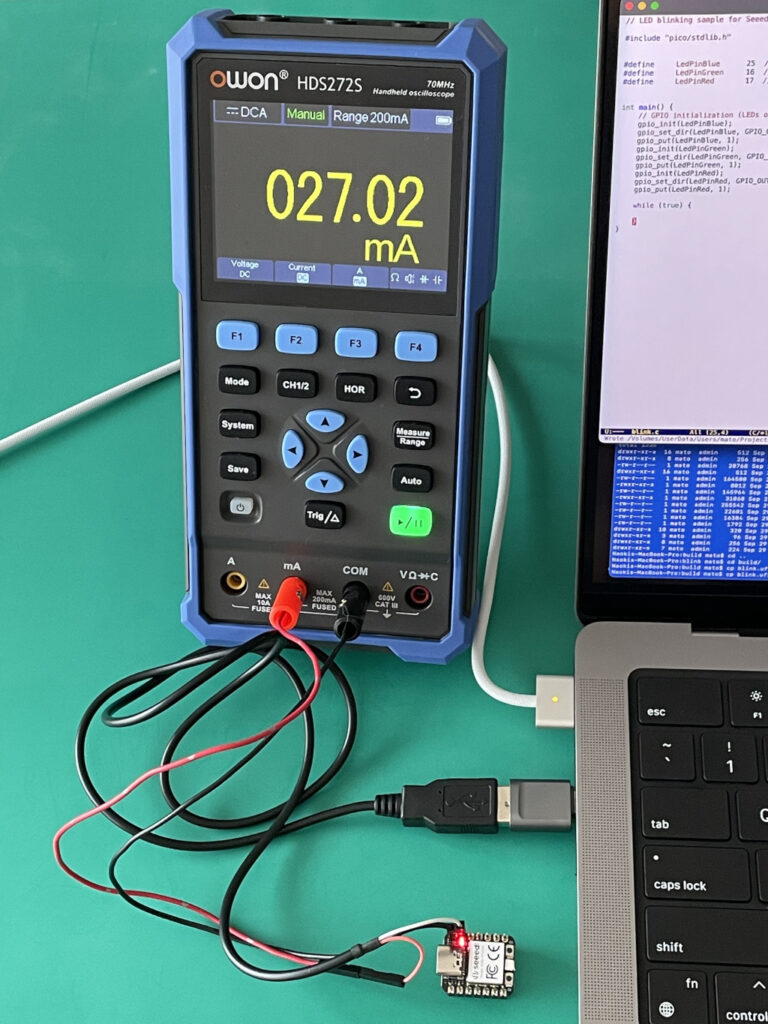
C/C++ SDKベースでのRP2040開発環境が整ったので、まずはデフォルトのコアクロック125MHzにて消費電流を測定しました。

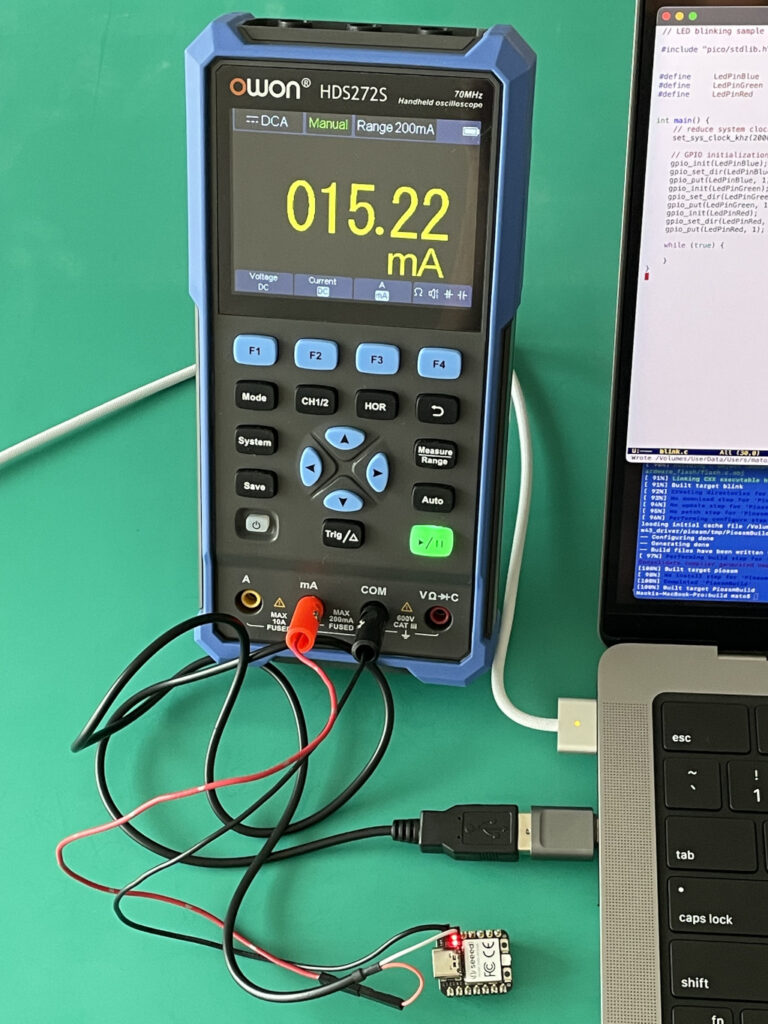
Arduino IDEを使用した場合とほぼ同等になったことを確認し、次に動作クロックを調整して効果を確かめてみます。まずは50MHzです。ソースコードの変更はset_sys_clock_khz()の追加のみです。
clock_test.c
|
1 2 3 4 5 6 7 8 9 10 11 12 13 14 15 16 17 18 19 20 21 22 23 24 25 26 27 28 |
// LED blinking sample for Seeed XIAO RP2040 #include "pico/stdlib.h" #define LedPinBlue 25 // output: the number of the LED pin of Blue #define LedPinGreen 16 // output: the number of the LED pin of Green #define LedPinRed 17 // output: the number of the LED pin of Red int main() { // reduce system clock set_sys_clock_khz(50000, true); // GPIO initialization (LEDs on XIAO-RP2040 board) gpio_init(LedPinBlue); gpio_set_dir(LedPinBlue, GPIO_OUT); gpio_put(LedPinBlue, 1); gpio_init(LedPinGreen); gpio_set_dir(LedPinGreen, GPIO_OUT); gpio_put(LedPinGreen, 1); gpio_init(LedPinRed); gpio_set_dir(LedPinRed, GPIO_OUT); gpio_put(LedPinRed, 1); while (true) { } } |

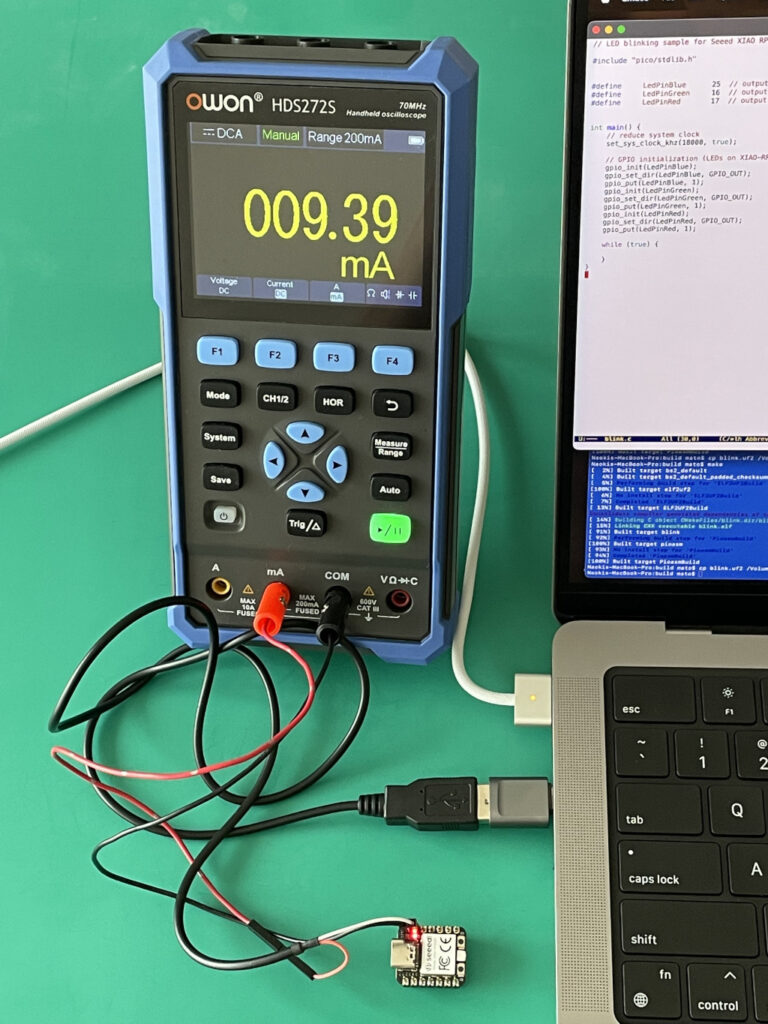
Arduinoでの結果に比べ若干ですが高い数字になっています。どこかペリフェラルの動作状況が異なるのかもしれません。set_sys_clock_khz()関数では18MHzまで下げられますので、こちらも試してみます。
|
10 11 |
// reduce system clock set_sys_clock_khz(18000, true); |

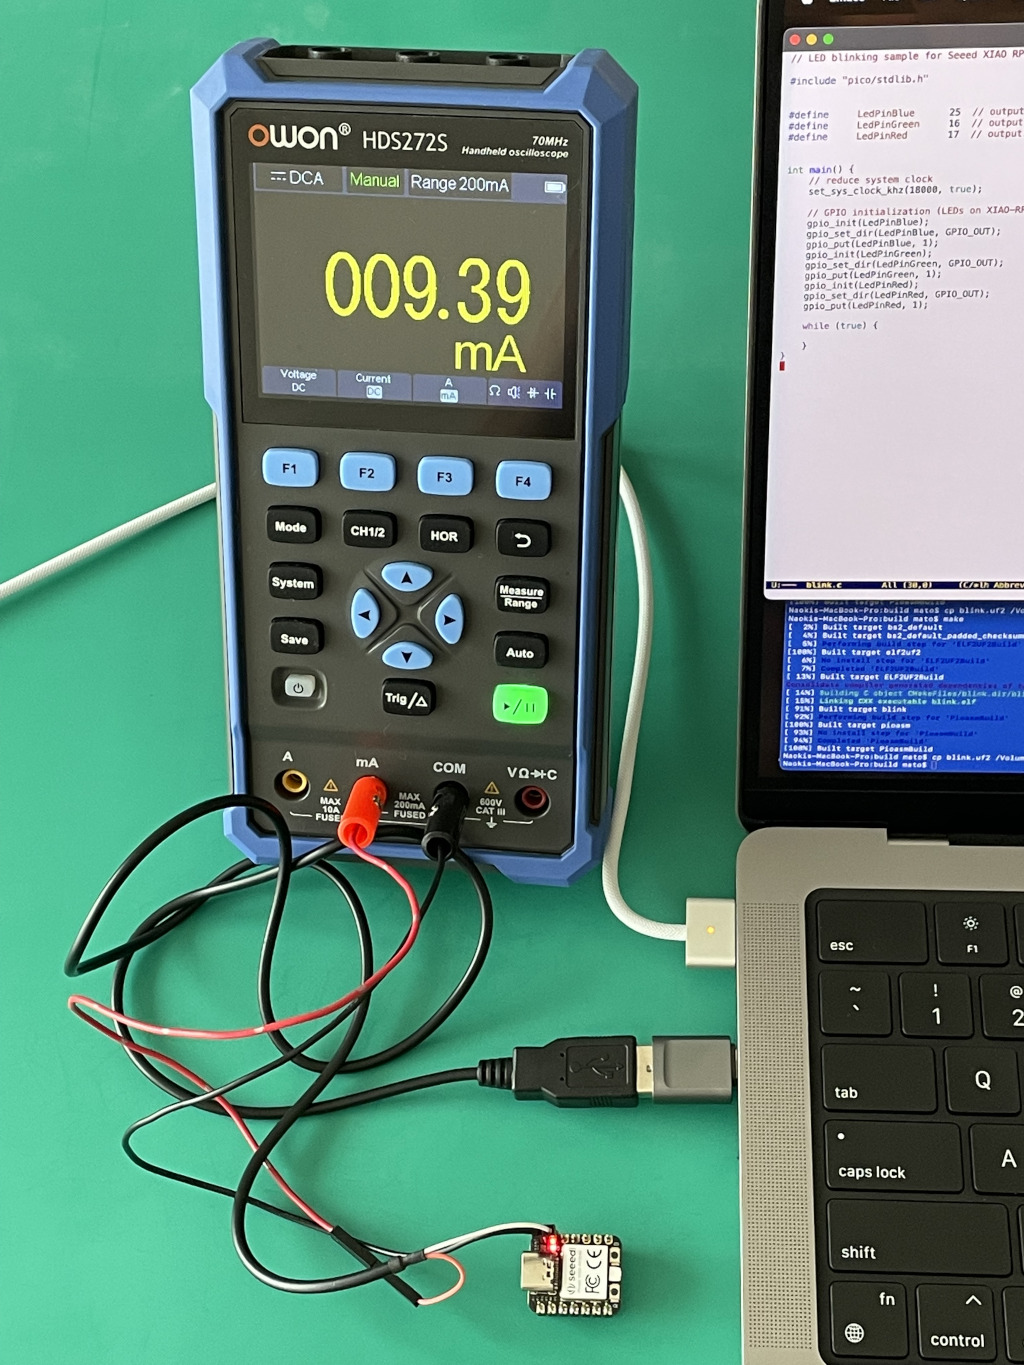
やっと10mAを切るところまで来ました。
さらに非動作時(入力信号待ち状態)に消費電流を抑えるために、最も効果が大きいdormant modeを試すことにします。


コメント