RP2040の低消費電力化をC/C++ SDKで試してみる – 事前準備
こんにちは、リゲル・インテリジェンスです。
RP2040の低消費電力化ですがArduino IDE環境では行き詰まり感が出てきたため、C/C++ SDK環境にて試してみることにしました。テスト用のコードは公式のGitリポジトリから落としてきたpico-exampleにある「blink」を使用します。
下記にてビルドが通ることをまずは確認します。([SDKをインストールしたフォルダ]は適宜変更する)
|
1 2 3 4 5 6 |
git clone -b master https://github.com/raspberrypi/pico-examples.git cd pico-examples mkdir build cd build export PICO_SDK_PATH="[SDKをインストールしたフォルダ]/pico-sdk" cmake .. |
cmakeがエラー無く通ったら、blinkをビルドします。
|
1 2 |
cd blink make |
ここまでで下記のようなディレクトリ構成になっているはずです。
|
1 2 3 4 5 6 7 8 9 10 11 12 13 14 15 16 17 18 19 20 21 |
pico-examples/ ├── CMakeLists.txt ├── pico_sdk_import.cmake │ ├── abc/ ├── blink/ │ ├── blink.c │ └── CMakeLists.txt ├── clocks/ : ├── watchdog/ │ └── build/ ├── abc/ ├── blink/ | ├── blink.uf2 | : | ├── clocks/ : └── watchdog |
CMakeLists.txtを2段階に配置して各サンプルをグループ化しています。これはこれで管理等を考えると便利なのですが、単発のテストの場合ちょっと煩雑に感じます。今回のテストに際し、下記の構成へ変更しました。
|
1 2 3 4 5 6 7 8 |
work/ ├── pico_sdk_import.cmake └── blink/ ├── blink.c ├── CMakeLists.txt └── build/ ├── blink.uf2 : |
作業用にworkフォルダを作成し、pico_sdk_import.cmakeをコピーしblinkフォルダを作成します。blinkフォルダ内に
下記2つのファイルを作成します。
blink.c
|
1 2 3 4 5 6 7 8 9 10 11 12 13 14 15 16 17 18 19 20 21 22 23 24 25 26 27 28 29 |
// LED blinking sample for Seeed XIAO RP2040 #include "pico/stdlib.h" #define LedPinBlue 25 // output: the number of the LED pin of Blue #define LedPinGreen 16 // output: the number of the LED pin of Green #define LedPinRed 17 // output: the number of the LED pin of Red int main() { // GPIO initialization (LEDs on XIAO-RP2040 board) gpio_init(LedPinBlue); gpio_set_dir(LedPinBlue, GPIO_OUT); gpio_put(LedPinBlue, 1); gpio_init(LedPinGreen); gpio_set_dir(LedPinGreen, GPIO_OUT); gpio_put(LedPinGreen, 1); gpio_init(LedPinRed); gpio_set_dir(LedPinRed, GPIO_OUT); gpio_put(LedPinRed, 1); while (true) { gpio_put(LedPinBlue, 1); sleep_ms(500); gpio_put(LedPinBlue, 0); sleep_ms(500); } } |
CMakeLists.txt
|
1 2 3 4 5 6 7 8 9 10 11 12 13 14 15 16 17 18 19 20 21 22 23 24 25 26 27 28 |
cmake_minimum_required(VERSION 3.13) # Pull in SDK (must be before project) include(../pico_sdk_import.cmake) # project name set(ProjectName "blink") project(${ProjectName} C CXX ASM) set(CMAKE_C_STANDARD 11) set(CMAKE_CXX_STANDARD 17) pico_sdk_init() # executable name add_executable(${ProjectName} blink.c ) # enable serial output pico_enable_stdio_usb(${ProjectName} 1) pico_enable_stdio_uart(${ProjectName} 0) # pull in common dependencies target_link_libraries(${ProjectName} pico_stdlib) # create map/bin/hex file etc. pico_add_extra_outputs(${ProjectName}) |
ビルドします。exportは必要に応じて実行してください。
|
1 2 3 4 5 6 |
cd work/blink mkdir build cd build export PICO_SDK_PATH="[SDKをインストールしたフォルダ]/pico-sdk" cmake .. make |
生成されたblink.uf2ファイルをXIAO RP2040に転送します。

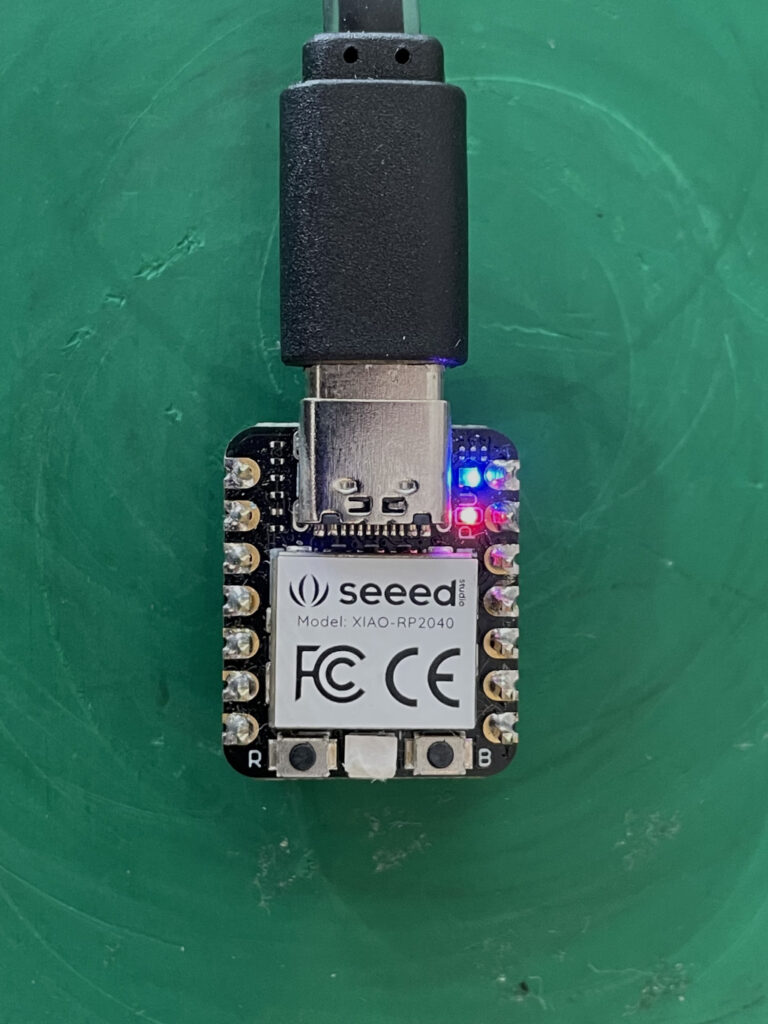
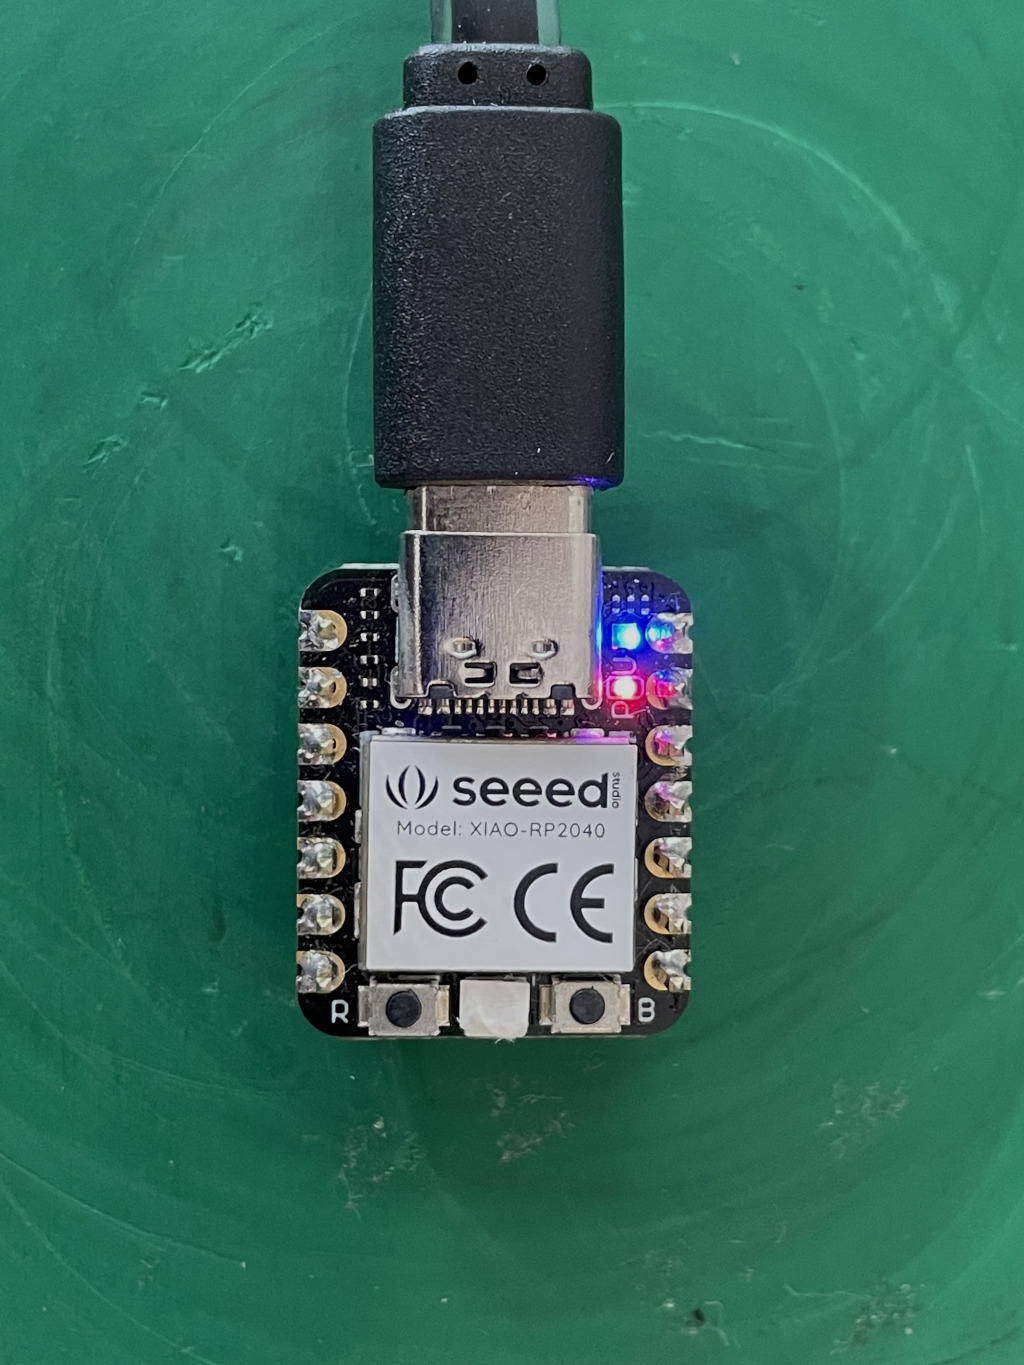
無事にLED青の点滅を確認出来ました。


コメント