VSCodeとDAPLink/CMSIS-DAPボードの接続設定
こんにちはリゲル・インテリジェンスです。
DAPLink/CMSIS-DAPボードをOpenOCDに接続出来ましたので、いよいよVSCode(Visual Studio Code)を設定しRP2040をデバッグ出来るようにします。
動作確認用のサンプルコードを含めたフォルダ構成は下記のようにします。(buildフォルダは自動生成されます)
|
1 2 3 4 5 6 7 8 9 10 11 12 13 14 15 16 17 |
work/ ├── openocd/ ├── pico-sdk/ ├── pico_sdk_import.cmake └── blink/ ├── .vscode/ │ ├── c_cpp_properties.json │ ├── settings.json │ ├── launch.json │ └── tasks.json ├── CMakeLists.txt ├── src/ │ └── blink.c └── build/ ├── blink.bin ├── blink.uf2 : |
.vscodeフォルダ内の各々のファイルを設定します。
[c_cpp_properties.json]:Intellisenseの設定
|
1 2 3 4 5 6 7 8 9 10 11 12 13 14 15 |
{ "configurations": [ { "name": "RP2040", "defines": [], "includePath": [ "/usr/local/Cellar/arm-none-eabi-gcc/**", "${workspaceRoot}/**", "[pico-sdkのインストールフォルダ]/pico-sdk/src/**", "[pico-sdkのインストールフォルダ]/pico-sdk/lib/**" ] } ], "version": 4 } |
[launch.json]:OpenOCDの起動設定
|
1 2 3 4 5 6 7 8 9 10 11 12 13 14 15 16 17 18 19 20 21 22 23 24 25 26 27 28 29 30 31 32 33 |
{ "version": "0.2.0", "configurations": [ { "name": "RP2040 Debug", "type": "cortex-debug", "cwd": "${workspaceRoot}", "executable": "${command:cmake.launchTargetPath}", "showDevDebugOutput": "raw", "request": "launch", "servertype": "openocd", "serverpath": "[OpenOCDのインストールフォルダ]/openocd/src/openocd", "searchDir": ["[OpenOCDのインストールフォルダ]/openocd/tcl"], "configFiles": [ "interface/cmsis-dap.cfg", "target/rp2040.cfg" ], // This may need to be arm-none-eabi-gdb depending on your system "armToolchainPath": "/usr/local/bin/", "gdbPath": "/usr/local/bin/arm-none-eabi-gdb", // Connect to an already running OpenOCD instance "gdbTarget": "localhost:3333", "svdFile": "${env:PICO_SDK_PATH}/src/rp2040/hardware_regs/rp2040.svd", "runToEntryPoint": "main", // Work around for stopping at main on restart "postRestartCommands": [ "break main", "continue" ] } ] } |
[settings.json]:起動時の設定
|
1 2 3 4 5 6 7 8 9 10 11 12 13 14 15 16 17 18 19 20 21 22 23 24 25 26 |
{ // These settings tweaks to the cmake plugin will ensure // that you debug using cortex-debug instead of trying to launch // a Pico binary on the host "cmake.statusbar.advanced": { "debug": { "visibility": "hidden" }, "launch": { "visibility": "hidden" }, "build": { "visibility": "hidden" }, "buildTarget": { "visibility": "hidden" } }, "cmake.environment": { "PICO_SDK_PATH":"[pico-sdkのインストールフォルダ]/pico-sdk" }, "cmake.buildBeforeRun": true, "C_Cpp.default.configurationProvider": "ms-vscode.cmake-tools", "memview.showMemoryPanel": true, "cortex-debug.variableUseNaturalFormat": false } |
[tasks.json]:Flashへのプログラミング実行コマンド
|
1 2 3 4 5 6 7 8 9 10 11 12 13 14 15 16 17 18 19 20 21 22 23 24 25 26 27 28 29 30 31 32 |
{ // See https://go.microsoft.com/fwlink/?LinkId=733558 // for the documentation about the tasks.json format "version": "2.0.0", "tasks": [ { "type": "shell", "label": "Program Flash", "options": { "cwd": "${workspaceFolder}" }, "command": [ "[OpenOCDのインストールフォルダ]/openocd/openocd_flash.sh ${cwd}/${input:param1}" ], "problemMatcher": [], "group": { "kind": "none", "isDefault": true } }, ], "inputs": [ { "id": "param1", // ${input:***}で指定したID "description": "Param1:", // 入力説明文 "default": "test.elf", // デフォルト入力値 "type": "promptString" // 入力タイプ } ] } |
サンプルソースコード(いつも似たようなものですみません)とCMakeLists.txtを下記のようにします。
[blink.c]:Seeed XIAO RP2040のグリーンLEDを点滅させる
|
1 2 3 4 5 6 7 8 9 10 11 12 13 14 15 16 17 18 19 20 21 22 23 24 25 26 27 28 29 30 31 32 33 34 35 36 37 38 39 40 41 42 43 44 |
//****************************************************************************** //* blink.c : LED blinking sample program for Seeed XIAO RP2040. * //* * //* usage: * //* * //* history: * //* Oct20,2022 start coding. N.Mato * //* * //* Copyright(c)2022 Rigel Intelligence * //****************************************************************************** #include <stdio.h> #include "pico/stdlib.h" #define LedPinBlue 25 // output: the number of the LED pin of Blue #define LedPinGreen 16 // output: the number of the LED pin of Green #define LedPinRed 17 // output: the number of the LED pin of Red int main() { // GPIO initialization (LEDs on XIAO-RP2040 board) gpio_init(LedPinBlue); gpio_set_dir(LedPinBlue, GPIO_OUT); gpio_put(LedPinBlue, 1); gpio_init(LedPinGreen); gpio_set_dir(LedPinGreen, GPIO_OUT); gpio_put(LedPinGreen, 1); gpio_init(LedPinRed); gpio_set_dir(LedPinRed, GPIO_OUT); gpio_put(LedPinRed, 1); stdio_init_all(); printf("Hello VSCode.\n"); while(1) { sleep_ms(1000); gpio_put(LedPinGreen, 0); sleep_ms(200); gpio_put(LedPinGreen, 1); } } |
[CMakeLists.txt]
|
1 2 3 4 5 6 7 8 9 10 11 12 13 14 15 16 17 18 19 20 21 22 23 24 25 26 27 28 29 30 31 32 33 34 35 36 37 38 39 40 41 42 43 44 45 |
cmake_minimum_required(VERSION 3.13) # SDK path information # Pull in SDK (must be before project) include(../pico_sdk_import.cmake) # project name (need to edit for each project) set(PROJECT "blink") project(${PROJECT} C CXX ASM) set(CMAKE_C_STANDARD 11) set(CMAKE_CXX_STANDARD 17) # SDK initialization pico_sdk_init() # executable name add_executable(${PROJECT} src/blink.c ) # source code target_sources(${PROJECT} PUBLIC ${CMAKE_CURRENT_SOURCE_DIR}/src/blink.c ) # include path target_include_directories(${PROJECT} PUBLIC ${CMAKE_CURRENT_SOURCE_DIR}/src ) # enable serial output pico_enable_stdio_usb(${PROJECT} 1) pico_enable_stdio_uart(${PROJECT} 1) # create map/bin/hex file etc. pico_add_extra_outputs(${PROJECT}) # pull in common dependencies target_link_libraries(${PROJECT} pico_stdlib) #add_executable(${PROJECT}) # options for GDB (no need for release) add_compile_options(${PROJECT} PUBLIC -O0 -ggdb -Wall) |
VSCodeを起動する前にターミナルにて「PICO_SDK_PATH」を設定しておきます。
|
1 |
export PICO_SDK_PATH="[pico-sdkのインストールフォルダ]/pico-sdk" |
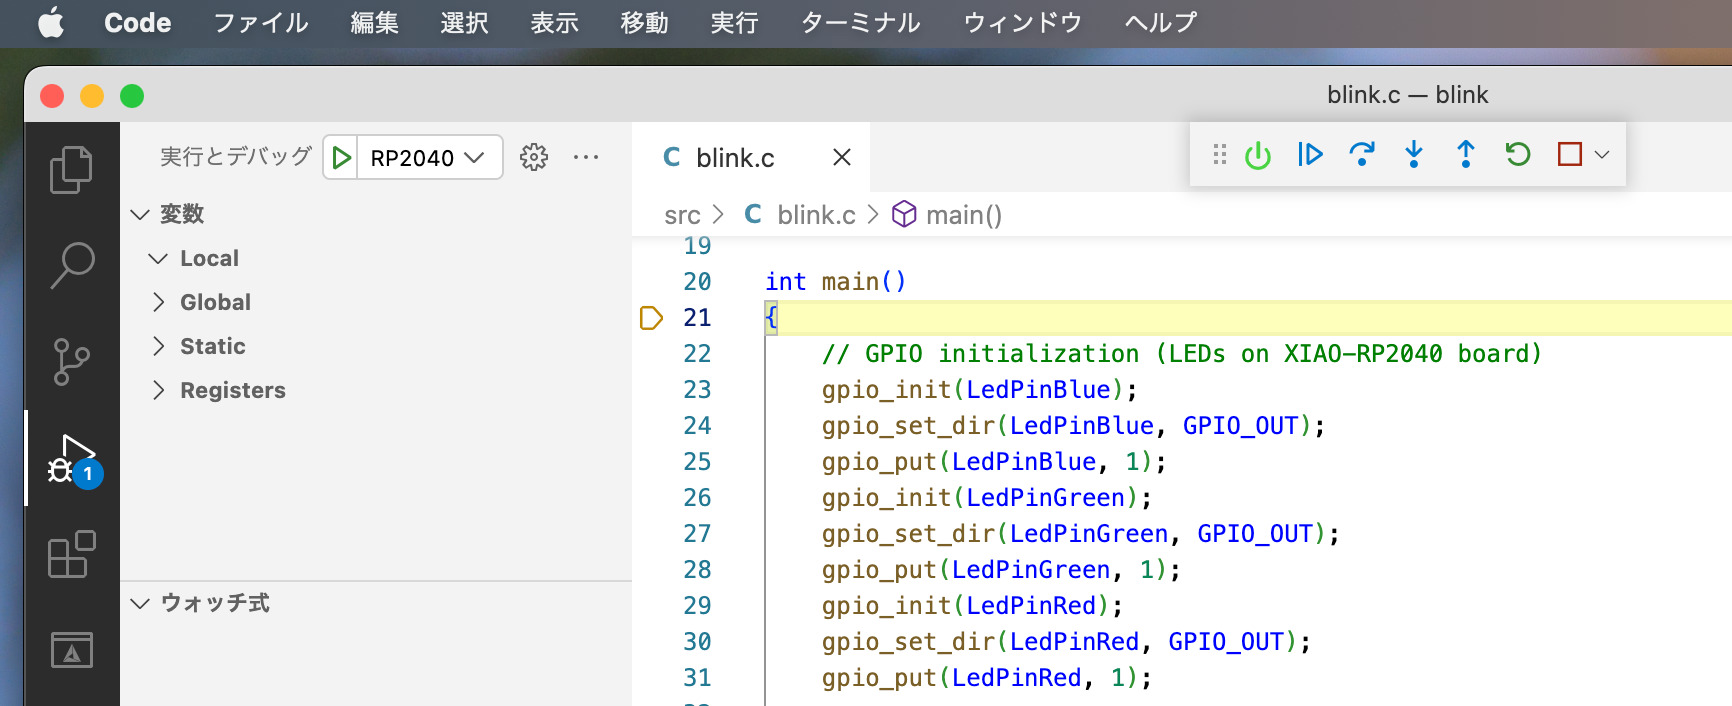
次ページにてVSCodeを起動し、動作を確認していきます。


コメント